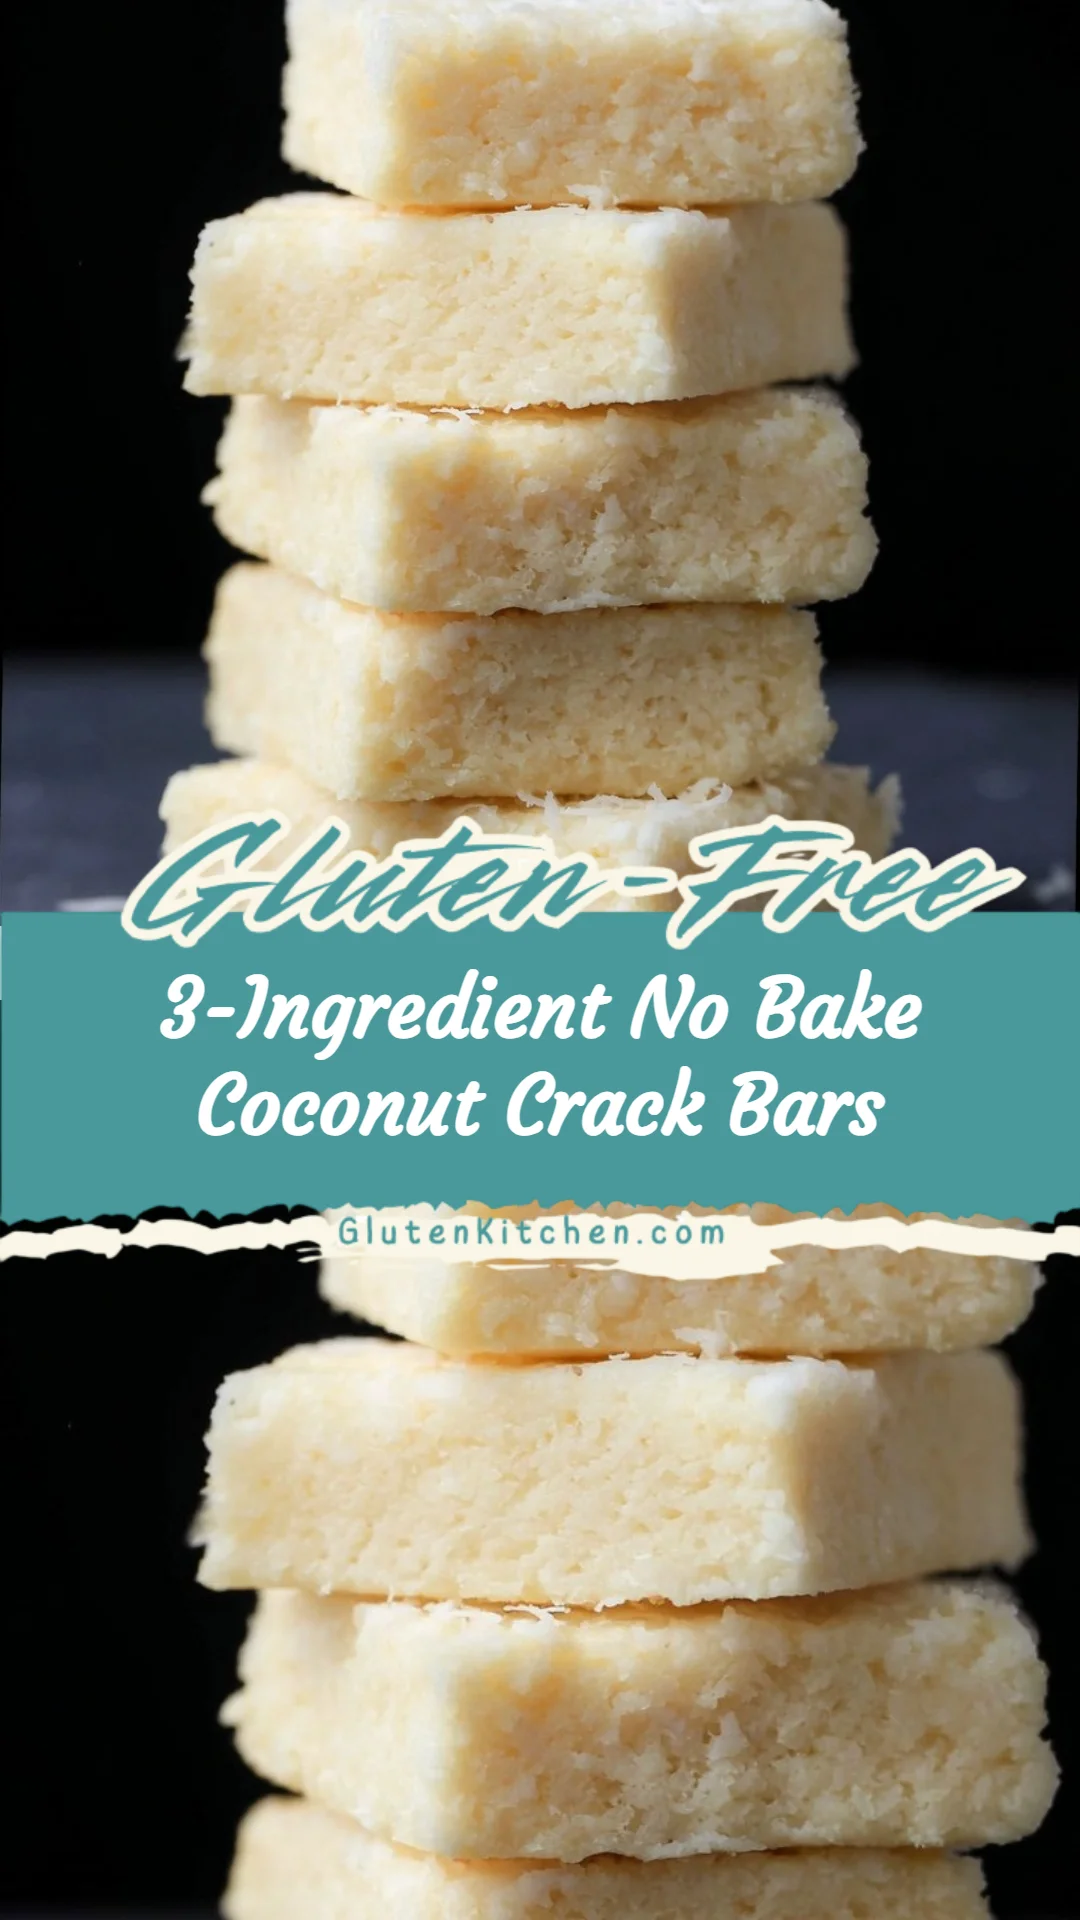
3-Ingredient No Bake Coconut Crack Bars
I know how freeing it feels to find a snack that keeps me comfortable, confident, and satisfied on a gluten-free diet — especially when hidden gluten and confusing labels make shopping stressful. If you’re short on time, craving something sweet and crunchy, or want an easy recipe that’s safe for sensitive stomachs, these 3-Ingredient No Bake Coconut Crack Bars are a great go-to. They’re naturally gluten-free when you use certified gluten-free ingredients, nourishing enough to curb cravings, and so simple that you can make them in minutes and have a stash ready in the fridge. For another reliable, easy weeknight recipe I use often, check out this chicken and broccoli bake that’s also gluten-free-friendly.
A Quick Look at This 3-Ingredient No Bake Coconut Crack Bars Recipe
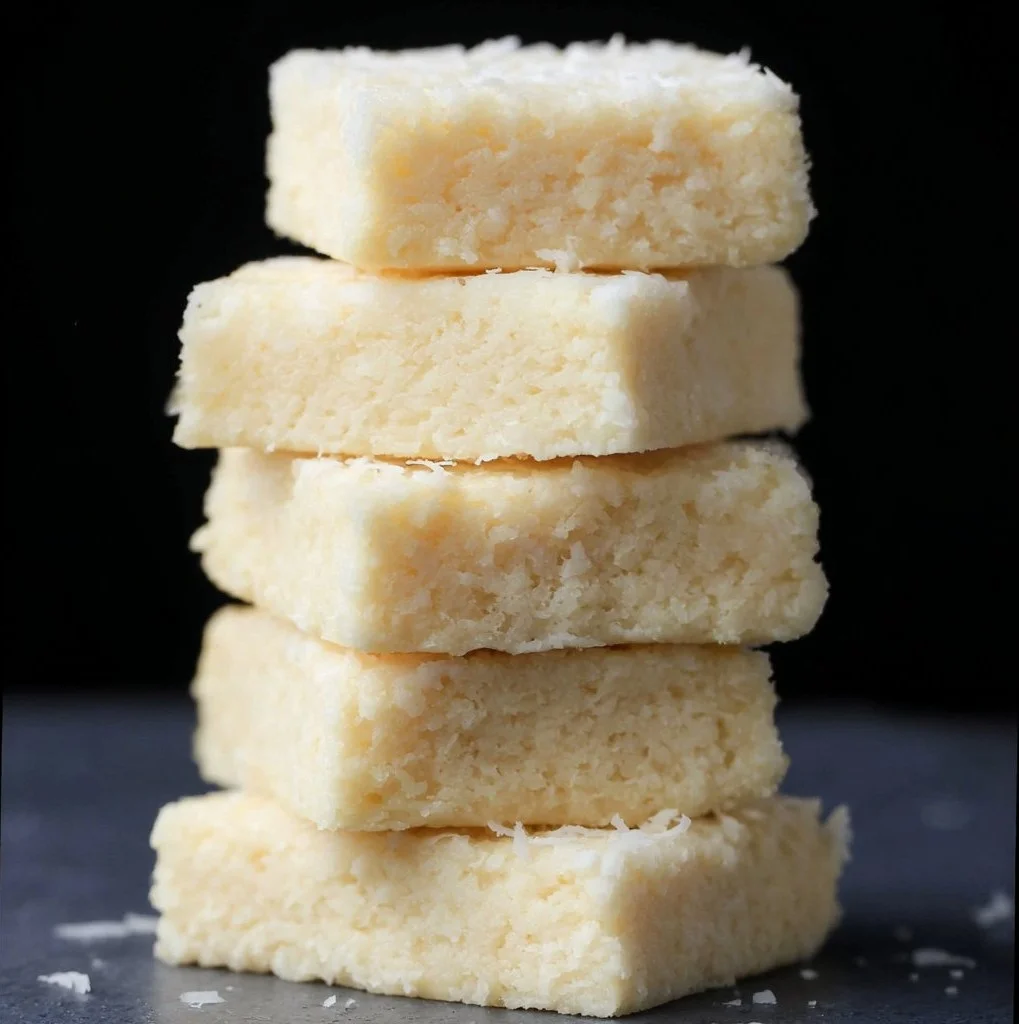
These 3-Ingredient No Bake Coconut Crack Bars are a quick, no-oven snack made from shredded coconut, coconut flour, and nut butter. They provide healthy fats from the nut butter and coconut, and fiber from the shredded coconut and coconut flour, which helps with satiety and blood sugar balance. The recipe is naturally gluten-free — but I always recommend using certified gluten-free shredded coconut, coconut flour, and nut butter if you have celiac disease or high sensitivity to prevent cross-contact. Flavor comes primarily from the toasted coconut and creamy nut butter, while texture is chewy and slightly crumbly. They’re perfect for meal prep, after-school snacks, or a safer sweet bite when gluten-free options are limited.
Ingredients You’ll Need for 3-Ingredient No Bake Coconut Crack Bars
Below I expand the original three items into pantry-friendly, safe-for-gluten-free cooking categories and offer helpful notes so you can shop and prepare confidently.
Essentials
- 1 cup shredded coconut (unsweetened or lightly sweetened)
- Use shredded (desiccated) coconut for the best texture. Choose certified gluten-free if you have celiac disease or high sensitivity, because cross-contact can occur during processing.
- 1/4 cup coconut flour
- Coconut flour absorbs moisture and adds a tender, mildly sweet coconut flavor. Make sure it’s labeled gluten-free.
- 1/2 cup nut butter (almond, cashew, or sunflower seed butter for nut-free)
- Choose a smooth, well-stirred jar for easy mixing. Look for single-ingredient nut butter (nuts only) if possible, and a certified gluten-free label if you need strict safety.
Optional Add-ons
These extras are optional but still gluten-free when chosen carefully (look for certified labels where noted).
- 1–2 tablespoons honey or maple syrup — for added sweetness and binding (maple syrup is naturally gluten-free; some syrups can be processed with equipment that handles gluten — check the label).
- 1/2 teaspoon vanilla extract — enhances flavor (use pure vanilla; if concerned about cross-contact, check brand).
- Pinch of sea salt — balances sweetness and brings out coconut and nut flavors.
- 1–2 tablespoons chia seeds or ground flaxseed — boosts fiber and omega-3s.
- 1–2 tablespoons mini dark chocolate chips (look for gluten-free marking) — for a chocolate layer or stir-in.
- 1 tablespoon shredded toasted coconut — for garnish and added crunch.
- 1 tablespoon cocoa powder — for a chocolate version (verify gluten-free label).
Substitutions and Gluten-Free Adjustments
Certified gluten-free swaps and safe choices:
- Nut butter alternatives: If you have a tree-nut allergy, use seed butter like sunflower seed butter or tahini (sesame). For strict celiac, verify the brand’s certification.
- Coconut flour swap: If coconut flour is unavailable, you can try superfine almond flour, but note the texture and absorbency differ — you may need less almond flour (start with 2 tablespoons) and adjust with a bit more nut butter if the mixture is too dry. Always choose certified gluten-free almond flour.
- Sweetener adjustments: Use maple syrup or honey (both naturally gluten-free) instead of nothing for a softer bar and extra sweetness; check labels if buying processed sweeteners or flavored syrups.
- Chocolate: Choose certified gluten-free mini chips or add a thin drizzle of melted gluten-free dark chocolate after the bars set.
Ingredient alternatives for allergies or availability
I prioritize clarity here so you can avoid hidden gluten and pick safe replacements.
- shredded coconut: If shredded coconut isn’t available, unsweetened desiccated coconut works similarly. Avoid “coconut flakes” that are much larger unless you process them briefly in a food processor. Always look for “gluten-free” on the package if you are very sensitive.
- coconut flour: If someone in your household can’t tolerate coconut, superfine almond flour is the closest gluten-free substitute for mild flavor and texture. Tapioca flour or oat flour are not direct swaps for structure; oat flour must be certified gluten-free.
- nut butters: Many flavored or “mix-in” nut butters contain additives or cross-contact risk. Choose single-ingredient jars and verify a gluten-free label if you’re sensitive. For peanut butter, many brands are naturally gluten-free but always read the label for “may contain” warnings.
- sunflower seed butter: A great nut-free, gluten-free swap; check for cross-contact warnings on the label.
- additives like chocolate or toppings: Look for explicit gluten-free labeling to avoid malt or barley-based ingredients.
Notes on avoiding hidden gluten sources:
- Avoid products labeled “may contain wheat” or with ambiguous allergen statements if you need strict gluten-free safety.
- Watch for added flavors, stabilizers, or cookie pieces in flavored nut butters that could contain gluten.
- When buying sweeteners, chocolate, or toppings, check for shared-facility statements if you’re sensitive.
How to Make 3-Ingredient No Bake Coconut Crack Bars Step-by-Step
I’ll take you through each step in plain language and include safety tips for gluten-free prep. This version is beginner-friendly and forgiving.
- Prep your workspace and equipment
- Line a small baking dish (an 8×4-inch or similar small loaf pan works well) with parchment paper, allowing some overhang for easy removal. Use clean utensils and surfaces that haven’t had contact with gluten-containing foods. If you share a kitchen, wipe down counters and use a clean cutting board and bowl to reduce cross-contact risk.
- Measure your ingredients accurately
- Level your measuring cups for the shredded coconut and flour to maintain texture balance. If your coconut is finely shredded and dense, you can lightly fluff it before measuring.
- Combine the dry ingredients in a mixing bowl
- Place 1 cup shredded coconut and 1/4 cup coconut flour into a medium bowl. Add a pinch of sea salt if you like.
- Add the nut butter and optional binder or flavorings
- Add 1/2 cup nut butter to the bowl. If you want a sweeter, moister bar, add 1–2 tablespoons honey or maple syrup and 1/2 teaspoon vanilla extract. Stir with a sturdy spoon or spatula until everything is evenly combined. The mixture should be sticky and hold together when pressed; if it seems too dry, add another teaspoon or two of nut butter or a little honey.
- Tip: If the nut butter is very firm, warm it briefly in a microwave-safe bowl for 10–15 seconds and stir to loosen. Use clean, dedicated equipment to avoid cross-contact.
- Press into the lined dish
- Transfer the mixture into the prepared pan. Use the spatula or the back of a spoon to press the mixture firmly and evenly into the pan so the bars hold together when set.
- Optional chocolate drizzle or topping
- If using chocolate chips, melt a small handful of gluten-free dark chocolate in a microwave-safe bowl in 15-second bursts, stirring between intervals. Drizzle over the pressed mixture or spread a thin layer on top. Sprinkle toasted shredded coconut if desired.
- Chill to set
- Refrigerate for at least 30 minutes to firm up. If you prefer firmer bars, freeze for 15–20 minutes. The bars will be easier to cut after thorough chilling.
- Slice and store safely
- Lift the parchment out of the pan using the overhang and place on a cutting board. Use a sharp knife to cut into 8 small bars or 6 larger bars. Store in an airtight container in the refrigerator for up to 7 days or freeze for up to 2 months. When storing multiple items in the same container, separate layers with parchment to avoid sticking.
- Cross-contact and serving note
- Serve with clean utensils and plates that haven’t been used for gluten-containing foods. Label any shared fridge items to prevent accidental exposure for family members who eat gluten.
Common Mistakes to Avoid
Keeping gluten exposure low while preserving great flavor and texture is usually a question of careful ingredients and small technique tweaks. Here are three common mistakes I see and how to fix them.
Mistake 1: Skipping the certified gluten-free check
Assuming items like shredded coconut, coconut flour, or nut butters are automatically safe can lead to hidden gluten exposure. Always read the label and select certified gluten-free brands if you have celiac disease or high sensitivity. Look for clear statements about gluten-free processing and avoid ambiguous “may contain” warnings when possible.
Mistake 2: Wrong texture from mismeasuring
Using too much coconut flour or too little nut butter will make the mixture crumbly and dry. Use accurate measuring and adjust by adding small amounts of nut butter or a touch of maple syrup until the mixture holds together when pressed. Conversely, too much nut butter can make bars greasy—add more shredded coconut or a teaspoon of coconut flour to balance.
Mistake 3: Using contaminated utensils or surfaces
Cross-contact happens fast. Mixing these bars on a cutting board or in a bowl that recently touched gluten-containing bread or crumbs can contaminate the whole batch. Always clean surfaces thoroughly, use dedicated utensils, and if cooking for someone with celiac, consider a separate prep area and clean hands or gloves before you begin.
Serving Suggestions for 3-Ingredient No Bake Coconut Crack Bars
These bars are versatile — here are practical, everyday ways I enjoy them as part of balanced, gluten-free meals and snacks.
Start with a short serving paragraph:
I like to think of these bars as flexible: they work as a pre-workout bite, a lunchtime sweet within a balanced box, or an afternoon energy boost. Here are three realistic and simple ideas to serve them.
As part of a balanced snack box
Pair one bar with a small handful of fresh berries and a hard-boiled egg or a few slices of apple and some Greek yogurt for protein and carbohydrates that balance the bar’s healthy fats.
With coffee or tea for a light afternoon treat
One or two small bars with a hot cup of tea or coffee make a satisfying perk-me-up. For variety, serve a bar alongside a small green smoothie to add fiber and nutrients without relying on gluten-containing pastries.
In lunchboxes and meal prep containers
I often pack a bar in a lunchbox with carrot sticks, hummus, and a simple salad. The bars travel well and provide a sweet note without the need for packaged baked goods that may contain gluten.
Conclusion
I hope these 3-Ingredient No Bake Coconut Crack Bars make gluten-free snacking simpler and more enjoyable for you. They’re an easy, adaptable recipe that supports a safe gluten-free lifestyle with just a few clean, whole-food ingredients — as long as you choose certified gluten-free versions when needed and follow simple cross-contact precautions. I encourage you to adjust the bar size, sweetness, and add-ins to suit your family’s tastes and dietary needs. If you’d like to compare variations or see a similar simple recipe, I sometimes look to other creators for inspiration like 3-Ingredient Coconut Bars – The Big Man’s World ® for ideas on flavor twists and presentation.
FAQs About 3-Ingredient No Bake Coconut Crack Bars
Yes, they can be safe if you use certified gluten-free shredded coconut, coconut flour, and nut butter. I always recommend checking labels for a gluten-free certification and avoiding products with “may contain wheat” statements to reduce the risk of cross-contact.
Absolutely. Use sunflower seed butter or tahini as a nut-free alternative. Make sure the seed butter brand is processed in a gluten-free facility or labeled gluten-free if you need strict safety.
Store the bars in an airtight container in the refrigerator for up to 7 days. For longer storage, freeze them for up to 2 months; separate layers with parchment to prevent sticking. Thaw in the fridge when ready to eat.
You can try superfine almond flour as a substitute, but coconut flour has unique absorbency, so you’ll likely need less almond flour and may need to adjust the nut butter amount. Always choose certified gluten-free flours and make small test batches to find the right texture.
If they’re too dry, stir in a teaspoon or two of nut butter or a little honey/maple syrup until the mixture holds together. If they’re too sticky, press them more firmly into the pan and chill longer, or add a small additional tablespoon of shredded coconut or 1 teaspoon of coconut flour to absorb excess moisture.
3-Ingredient No Bake Coconut Crack Bars
Ingredients
Method
- Line a small baking dish with parchment paper, allowing some overhang for easy removal.
- Measure your ingredients accurately. Level measuring cups for shredded coconut and coconut flour.
- Combine dry ingredients in a mixing bowl: shredded coconut, coconut flour, and a pinch of sea salt.
- Add nut butter to the bowl. For a sweeter bar, add honey or maple syrup and vanilla extract.
- Stir with a sturdy spoon until everything is evenly combined. The mixture should be sticky.
- Transfer mixture into the prepared pan and press firmly into the pan.
- Refrigerate for at least 30 minutes to firm up or freeze for 15–20 minutes.
- Lift the parchment out of the pan and cut into bars.
- Store in an airtight container in the refrigerator for up to 7 days or freeze for up to 2 months.