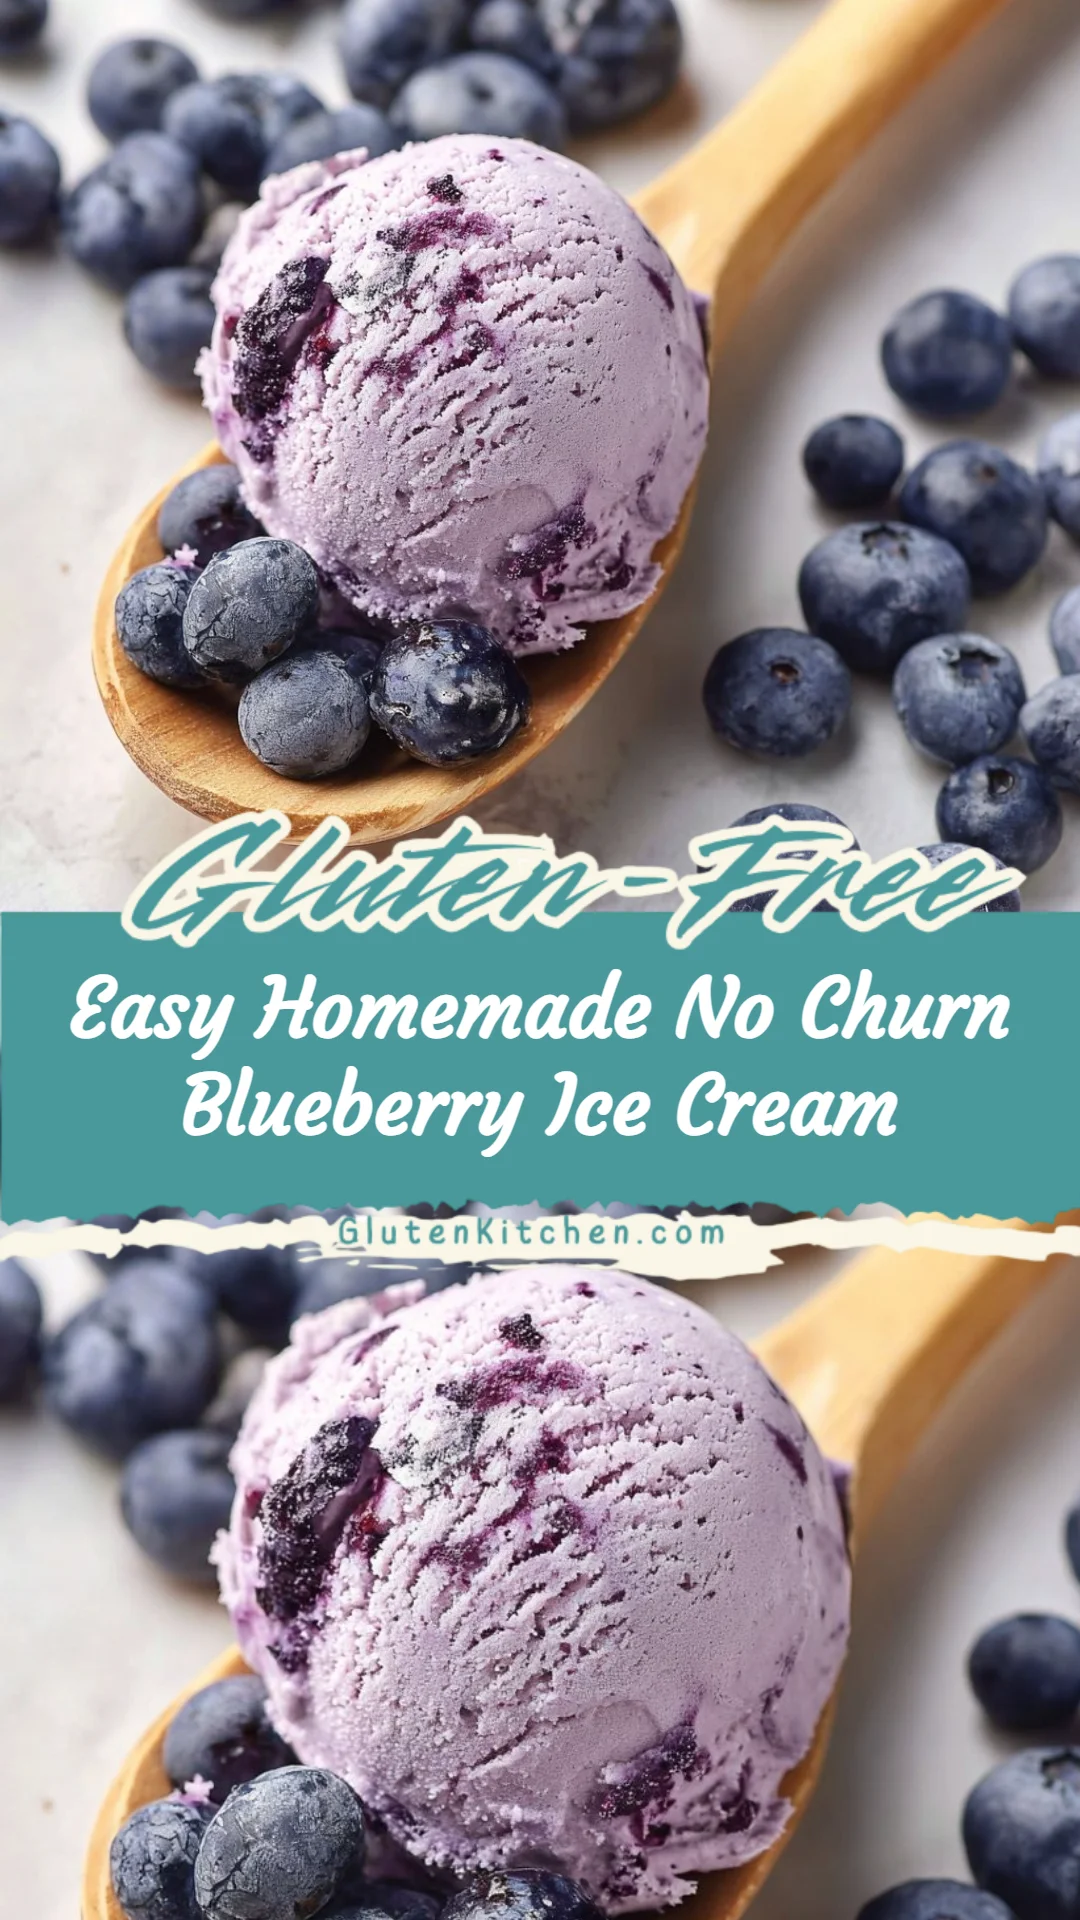
Easy Homemade No Churn Blueberry Ice Cream
There’s a particular kind of comfort that comes from standing at my little kitchen counter with a wooden spoon and a sticky saucepan cooling on the stove — the kind that smells like summer and tastes like memory. As a home cook who loves simple, dependable recipes, I know how easy it is to feel unsure about making treats that are both gluten-free and comforting. This Easy Homemade No Churn Blueberry Ice Cream is one of those recipes I turn to when I want something honest and forgiving: it uses pantry-friendly ingredients, steps that don’t demand perfection, and it always rewards me with a silky, fruity scoop. If you’d like a bright, unexpected pairing for a backyard snack board, I sometimes tuck a small bowl of this ice cream alongside a tangy cranberry jalapeño dip recipe — the contrast is fun and homey.
A Quick Look at This Easy Homemade No Churn Blueberry Ice Cream Recipe
This recipe blends sweetened condensed milk and whipped heavy cream with a quick blueberry sauce made from fresh or frozen berries and a splash of lemon. It’s wonderfully simple and delivers a reliable, creamy texture without an ice cream maker. It’s perfect for gluten-free cooks who want a fuss-free dessert that feels homemade and comforting. The method is forgiving — you’ll still get great results even if your sauce is a little chunkier or smoother than mine. Stay with me and I’ll walk you through how to do it easily at home.
Ingredients You’ll Need for Easy Homemade No Churn Blueberry Ice Cream
Below I list everything with an eye toward trustworthy, gluten-free pantry picks. All the ingredients here are naturally gluten-free — just pick brands you trust.
Essentials
Trusted gluten-free essentials
- 1 1/2 cups fresh or frozen blueberries — choose ripe, fragrant berries if fresh, or a good-quality frozen bag if you want convenience.
- 2 tablespoons lemon juice — fresh is best for brightness, but bottled lemon juice will work in a pinch.
- 1/4 cup granulated sugar — regular cane sugar is fine; make sure it’s a brand you trust to be gluten-free.
- 2 cups heavy cream — cold from the fridge; this is where the creaminess comes from.
- 14-ounce can sweetened condensed milk — the glue of the no-churn method; check the label for gluten-free assurance.
- 1/2 cup fresh blueberries — these get folded in for texture and little pops of fresh flavor.
Optional Add-ons
(Simple extras that add comfort or flavor)
- 1 teaspoon vanilla extract — adds warmth and rounds the flavors. Use pure vanilla for the best aroma.
- Fresh mint leaves — a few torn leaves folded into the sauce or used as a garnish make each scoop feel special.
- Chopped almonds or walnuts — for a little crunch; make sure nuts are plain and from a gluten-free-certified facility if you’re especially sensitive.
Substitutions and Shortcuts
(Home-cook friendly swaps that keep things easy)
- Use frozen blueberries for the sauce: frozen berries work beautifully and are often picked at peak ripeness, so they deliver good flavor year-round.
- Sweetened condensed milk alternatives: if you prefer a slightly lighter option, there are sweetened condensed milk-style products made from coconut milk (check they’re labeled gluten-free). The texture will be similar but the flavor will be coconut-forward.
- A short-cut for cooling the sauce: spread the cooked blueberry sauce into a shallow dish to speed cooling before folding into the whipped cream.
- Make it dairy-free: swap heavy cream for full-fat coconut cream whipped until fluffy, and use a coconut-based condensed milk alternative that’s gluten-free. Note: texture changes slightly but it’s a lovely non-dairy option.
- Quick fold-in idea: if you’re short on time, blitz the cooked blueberry sauce briefly to a smoother jam — it will ripple through the ice cream with less chunkiness.
How to Make Easy Homemade No Churn Blueberry Ice Cream Step-by-Step
I’ll walk through each step like I’m standing beside you in the kitchen. Take your time; this recipe is forgiving and friendly.
Prepare a cold pan
- Pop a 9×5-inch loaf pan into the freezer while you work. A cold vessel helps the ice cream set more evenly and reduces the chance of large ice crystals. I keep a dedicated pan in the freezer for this purpose.
Cook the blueberry sauce
- In a medium saucepan combine 1 1/2 cups of blueberries, the lemon juice, and sugar. Heat the mixture over medium heat until it comes to a gentle boil, then reduce the heat and let it simmer for about 10 minutes. As it simmers, the berries will break down and the mixture will start to thicken into a glossy sauce.
- Tip: Stir occasionally to keep things even. You’re aiming for a jammy consistency, not rock-hard candy.
Strain and cool the sauce
- Set a fine-mesh strainer over a bowl and pour the cooked berry mixture through. Use the back of a spoon to press the liquid and pulp through the mesh, leaving the seeds and any coarse bits behind. This step gives you a smoother sauce that ribbons beautifully through the ice cream.
- Chill the strained sauce in the refrigerator for about 30 minutes (or until it’s completely cool). If you’re in a hurry, spread the sauce in a shallow dish so it cools faster.
Whip the cream with sweetened condensed milk
- In a clean, cold bowl, pour the 2 cups of chilled heavy cream and the 14-ounce can of sweetened condensed milk. If you’re using vanilla, add 1 teaspoon now.
- Using a hand mixer or stand mixer fitted with the whisk attachment, whip on medium-high speed until the mixture reaches soft peaks — usually about 3–4 minutes. You want it to be light and slightly billowy; soft peaks will hold their shape but still gently fold.
- Reassurance: Over-whipping won’t ruin the dessert, but you’ll get a denser texture. If you do happen to go past soft peaks, stop and gently fold to recover the texture.
Fold in the blueberry sauce and fresh berries
- Take the chilled blueberry sauce and fold it gently into the whipped cream mixture. For a marbled effect, you can swirl it in with just a few folds so you still see ribbons of blue. Add the 1/2 cup of fresh blueberries last, folding them in carefully so they don’t burst and color the entire base too quickly.
- Tip: If you prefer a more uniform flavor, fold a little more; if you want visible streaks of sauce, fold minimally.
Freeze until set
- Pour the ice cream mixture into the chilled loaf pan. Smooth the top with a spatula, cover tightly with plastic wrap (or a lid if your pan has one), and freeze for about 5 hours, or until solid.
- Make-ahead note: This ice cream keeps well in the freezer for up to 2 weeks if stored in an airtight container. Let it sit at room temperature for 5–10 minutes before scooping for the easiest serving.
Common Mistakes to Avoid
Mistakes are part of learning — I’ve made them, and I want you to feel reassured that they’re fixable. Below are a few common hiccups and how to move past them without stress.
Mistake 1: Texture too icy or dry
If your ice cream turns out icy, it usually means the air hasn’t been incorporated well or the mix was too cold when it went into the freezer. Make sure the heavy cream is whipped to soft peaks with the sweetened condensed milk; that whipped air is what keeps the texture silky. Also, avoid over-stiffening the whipped cream — you want soft, not grainy peaks. If dryness is the issue, fold in the blueberry sauce more evenly or add a tablespoon of extra lemon-sweetened syrup to bring moisture back.
Mistake 2: Over-mixing or losing the ribbons
When you fold in the blueberry sauce, overworking the mixture will make it uniform purple instead of pretty marbled swirls. If you love streaks, fold just enough to distribute the sauce in ribbons — a gentle hand is all it takes. Remember: this recipe is forgiving; a uniformly colored ice cream still tastes delightful.
Mistake 3: Wrong substitutions that change texture
I love substitutions, but some swaps alter texture more than flavor. For example, low-fat creams won’t whip up the same way, and straight yogurt can make the mix grainy. If you need non-dairy, use chilled full-fat coconut cream and a coconut-condensed milk substitute designed for freezing. Always test small swaps first so you can see the results without wasting a whole batch.
Serving Suggestions for Easy Homemade No Churn Blueberry Ice Cream
Serving this ice cream is one of the most enjoyable parts — it’s casual, comforting, and a little joyful. Here are three easy ways I like to present it that feel homey and relaxed.
I like to keep the serving approach simple: warm bowls, a gentle spoon, and a few small garnishes to make each scoop feel like a little celebration.
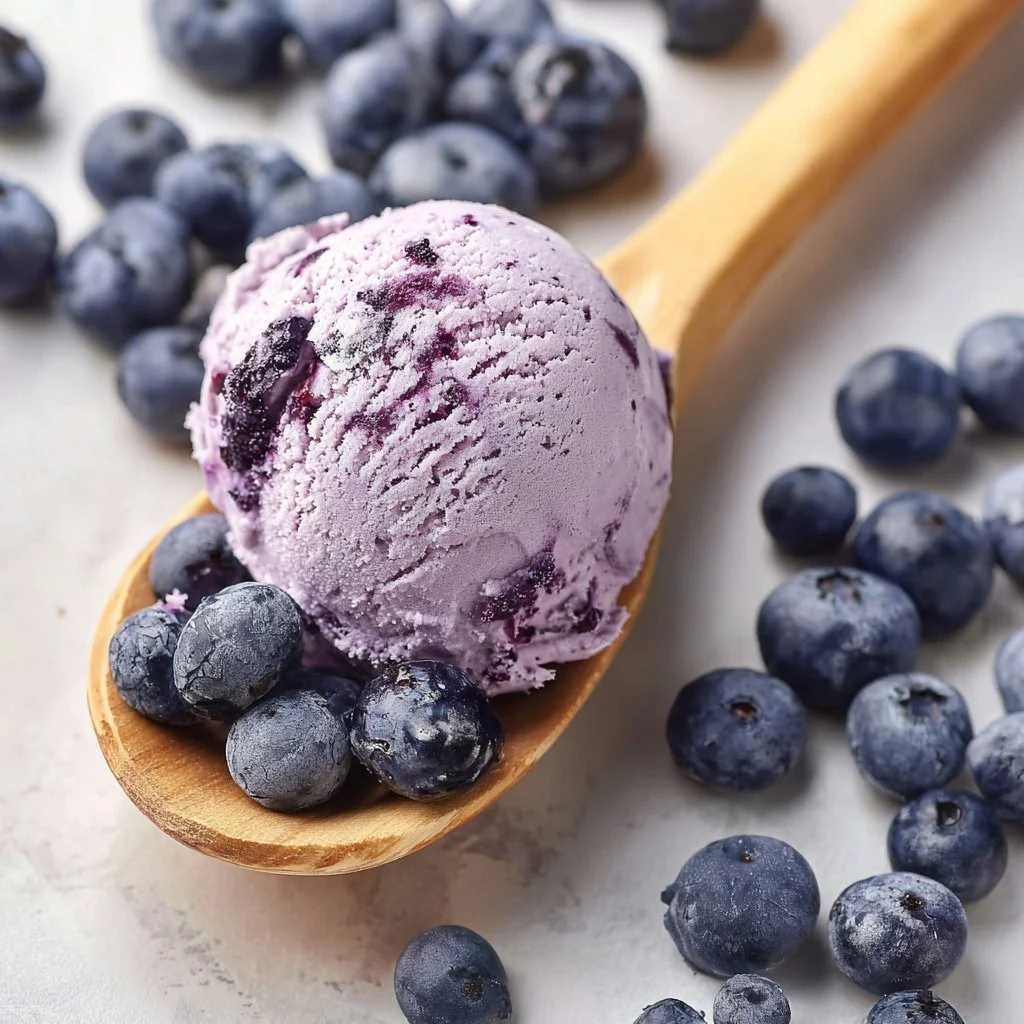
Cozy Scoop Style
Scoop the ice cream into bowls and garnish with a few fresh blueberries and a small mint leaf. I sometimes sprinkle a few chopped toasted almonds on top for a touch of crunch. This is a quiet, cozy way to enjoy the dessert after a family dinner.
Family-Friendly Sundae
Serve scoops alongside warm gluten-free shortbread or a slice of almond flour cake for a casual sundae setup. Let everyone add their own toppings — extra berries, a drizzle of leftover blueberry sauce, or chopped nuts. This approach is relaxed and ideal for a family night in.
Everyday Meal Finisher
Keep a simple scoop on the side of lighter meals like a grilled lemon chicken (gluten-free) or a fresh fruit tart (gluten-free crust). The ice cream’s bright, lemony-blueberry notes are a friendly finish to easy, home-cooked dinners.
Conclusion
I hope this Easy Homemade No Churn Blueberry Ice Cream recipe becomes one of those quiet kitchen wins you reach for when you want a treat that’s simple, soothing, and reliably delicious. It’s a forgiving recipe — you don’t need special equipment, rare ingredients, or perfect timing to end up with creamy results that taste like summer. If you ever want to compare notes with a similar take on blueberry no-churn ice cream for fresh ideas, I like to peek at a well-loved version online like Blueberry No-Churn Ice Cream – i am baker for presentation ideas and extra ways to mix in toppings. Make a batch, tuck it in the freezer, and know you can come back to this simple comfort again and again.
FAQs About Easy Homemade No Churn Blueberry Ice Cream
Yes — you can make this Easy Homemade No Churn Blueberry Ice Cream dairy-free by using chilled full-fat coconut cream in place of heavy cream and a coconut-based sweetened condensed milk that’s labeled gluten-free. Texture will be a touch different (a bit denser and coconut-forward in flavor), but it’s a lovely alternative and still beginner-friendly.
To keep the texture smooth, whip the heavy cream to soft peaks before folding in the sweetened condensed milk and blueberry sauce. Chill the blueberry sauce completely so it doesn’t deflate the whipped cream when folded in. Also, freeze in a cold, shallow pan and cover tightly to minimize ice crystals.
Absolutely — frozen blueberries are a great substitution and often have excellent flavor. Use them for the cooked sauce straight from the freezer; they thaw and break down as they cook. Fresh berries folded in at the end are nice for texture, but if you only have frozen, that will also work well once thawed and gently drained.
The sweetness level is balanced by the lemon in the blueberry sauce and the natural tartness of the berries. If you prefer less sweetness, you can reduce the 1/4 cup sugar in the sauce slightly (try 3 tablespoons) and taste before cooking further. Keep in mind the sweetened condensed milk contributes sweetness too, so small adjustments in the sauce are the easiest way to tune the overall sweetness.
Stored in an airtight container, this Easy Homemade No Churn Blueberry Ice Cream will keep well for about two weeks for best flavor and texture. Press a piece of parchment on the surface before sealing to prevent ice crystals, and let it sit at room temperature for 5–10 minutes before serving so it scoops easily.
Easy Homemade No Churn Blueberry Ice Cream
Ingredients
Method
- Pop a 9×5-inch loaf pan into the freezer while you work.
- In a medium saucepan, combine 1 1/2 cups of blueberries, lemon juice, and sugar. Heat over medium heat until gentle boil, then reduce heat and simmer for about 10 minutes.
- Set a fine-mesh strainer over a bowl and pour cooked berry mixture through it to strain.
- Chill the strained sauce in the refrigerator for about 30 minutes.
- In a clean, cold bowl, whip 2 cups of heavy cream and 14 ounces of sweetened condensed milk until soft peaks form, about 3-4 minutes.
- Fold the chilled blueberry sauce and fresh blueberries into the whipped cream mixture.
- Pour the mixture into the chilled loaf pan, smooth the top, and cover with plastic wrap.
- Freeze for about 5 hours or until solid.