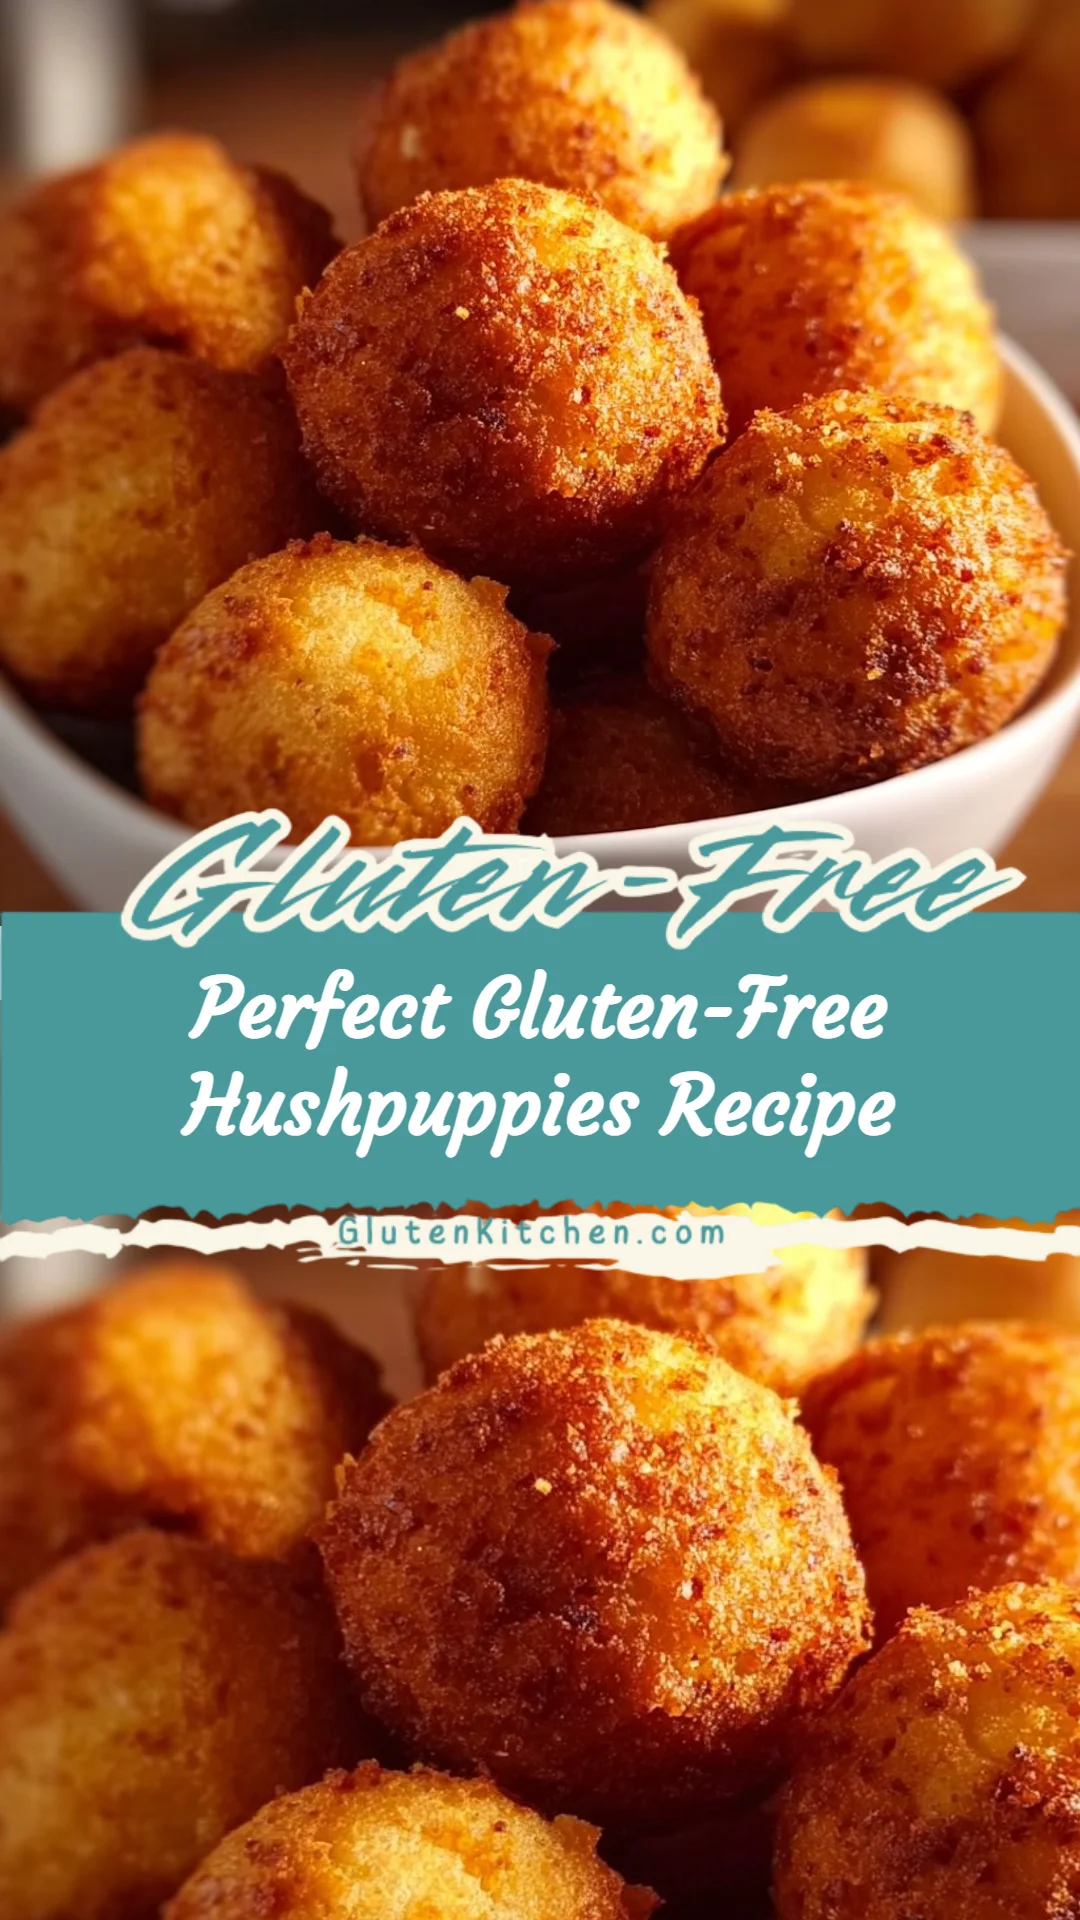
Perfect Gluten-Free Hushpuppies Recipe
I know how reassuring it feels to sit down to a meal that won’t upset your stomach or make you second-guess labels — that’s why I created this recipe. Many of us worry about hidden gluten, label confusion, and cross-contamination, so I’ve written the Perfect Gluten-Free Hushpuppies Recipe to be nourishing, simple, and safe when you follow the ingredient notes and precautions. If you enjoy pairing hushpuppies with a quick weeknight protein, I often recommend a complementary dish like my gluten-free Caprese chicken recipe for an easy balanced meal.
A Quick Look at This Perfect Gluten-Free Hushpuppies Recipe Recipe
This recipe delivers a crunchy, golden exterior with a tender, slightly sweet corn interior. Nutritionally, it provides protein from eggs and some fiber from the cornmeal, helping balance the carbs from the batter. The recipe is designed to be made with certified gluten-free cornmeal and a gluten-free all-purpose flour blend, so it’s suitable for people with celiac disease or gluten sensitivity when you use labeled ingredients. Onion contributes savory depth and vitamins, while the minimal sugar helps with browning and flavor balance. These hushpuppies are great for weeknight dinners, family meals, or make-ahead appetizer trays when stored and handled safely.
Ingredients You’ll Need for Perfect Gluten-Free Hushpuppies Recipe
Below I explain each ingredient and why it matters, plus tips to keep everything gluten-free and safe.
Essentials
(Common, easy-to-find gluten-free ingredients)
- 2 Large Eggs — I use large eggs at room temperature. They bind the batter, add moisture and richness, and help create a tender interior and golden crust. Room-temperature eggs mix more smoothly and help the batter hold together when frying.
- ½ Cup Granulated Sugar — A small amount of sugar helps with browning and adds a subtle sweet balance to the savory onion. It won’t make the hushpuppies taste like dessert, but it contributes to a nicely colored crust.
- 1 Medium Onion, Finely Chopped — Yellow or white onion works best for its mild, savory flavor. Finely chopping or grating the onion ensures it cooks through in the bite-sized hushpuppies. If you grate, squeeze out excess moisture before adding so the batter isn’t too wet.
- ½ Cup Gluten-Free Cornmeal (or Corn Flour Alternative) — Use certified gluten-free cornmeal whenever possible to avoid cross-contamination. If you can’t find it, a combination of masa harina (corn flour) or corn flour plus rice flour can work. Cornmeal gives the classic texture of hushpuppies; pick a slightly coarse grind rather than ultra-fine.
- ½ Cup Gluten-Free All-Purpose Flour Blend — Choose a baking blend that includes a binder like xanthan gum or guar gum to help mimic gluten’s structure. Different blends absorb liquid differently, so you may need to adjust the batter thickness slightly. Look for blends labeled “for baking” and “certified gluten-free” for safety.
- Salt and Pepper, to taste — I recommend starting with about 1 tsp salt and 1/4 tsp freshly ground black pepper for the full batter, then adjusting to taste. Seasoning is essential to bring out the corn and onion flavors.
- Vegetable Oil or Canola Oil, for deep frying — Use a neutral oil with a high smoke point and make sure it hasn’t been used to fry gluten-containing foods previously (cross-contamination risk). You’ll need enough oil to keep hushpuppies floating freely — roughly 2 inches deep in a heavy pot or a deep fryer set to 350°F (175°C).
Optional Add-ons
(Simple extras that enhance flavor or nutrition without adding gluten)
- Chopped fresh chives or green onions — for a bright onion note and color
- Minced jalapeño or a pinch of cayenne — for a mild spicy kick
- Grated zucchini (squeezed dry) — adds moisture and a vegetable boost; be sure to remove excess water
- Paprika or smoked paprika — for depth and subtle smoky flavor
- A tablespoon of finely chopped fresh herbs (parsley, cilantro) — for freshness
All optional add-ons must be certified gluten-free if purchased (especially spice blends); single-ingredient fresh herbs and vegetables are naturally gluten-free.
Substitutions and Gluten-Free Adjustments
Certified gluten-free swaps
- Gluten-Free Cornmeal → Masa harina + rice flour: If certified cornmeal isn’t available, try 3/4 masa harina + 1/4 rice flour by volume for texture similar to cornmeal. Always use certified gluten-free brands to avoid cross-contact.
- GF All-Purpose Blend → Single-flour options: If you only have one GF flour, a combination of rice flour + tapioca starch + a pinch (roughly 1/8 tsp) xanthan gum per cup can replace a 1:1 GF blend, but textures vary. I recommend a commercial blend labeled for baking for the most consistent result.
- Eggs → Flax egg (if egg-free is needed): 2 tbsp ground flaxseed + 6 tbsp warm water (set 10 minutes) can bind, but frying behavior changes and texture will be slightly denser.
- Oil for frying → Avocado oil: Avocado oil has a high smoke point and neutral flavor; it’s a good, safe alternative if you prefer it.
Highlight: Cornmeal, corn flour, and gluten-free all-purpose flour should be certified gluten-free if you are avoiding gluten for medical reasons.
Ingredient alternatives for allergies or availability
Notes on avoiding hidden gluten sources
- Check all labels for “certified gluten-free” when you have celiac disease or strong sensitivity. Even naturally gluten-free ingredients can be processed on shared equipment.
- Spice blends: buy single-ingredient spices or brands labeled gluten-free. Some seasonings contain wheat fillers or anti-caking agents from shared facilities.
- Baking soda or powder: most are gluten-free, but check labels for cross-contamination statements if you are highly sensitive.
- Oils: ensure the oil hasn’t been used to fry gluten-containing items if you’re using oil from a shared fryer at a restaurant or community kitchen.
- Dipping sauces: store-bought sauces can contain wheat, soy sauce (wheat), or malt vinegar — pick labeled gluten-free sauces or make simple homemade versions (yogurt, mayo, lemon, herbs).
All ingredients listed in this recipe are naturally gluten-free when purchased and handled correctly; I recommend buying certified gluten-free cornmeal and all-purpose flour blend for maximum safety.
How to Make Perfect Gluten-Free Hushpuppies Recipe Step-by-Step
I write these steps as if you’re cooking with me in a small home kitchen. Read through once, prep the ingredients, and keep cross-contamination in mind.
Prepare and measure ingredients
- Crack 2 large eggs into a small bowl and whisk briefly until smooth; bring to room temperature if possible.
- Finely chop 1 medium onion (or grate it and squeeze out excess liquid).
- Measure ½ cup gluten-free cornmeal and ½ cup gluten-free all-purpose flour into separate small bowls.
- Measure salt, pepper, and ½ cup granulated sugar.
- Set a slotted spoon, a wire rack or paper towels, and a thermometer near your stove.
- Important safety note: Clean your workspace and utensils well, and use a separate cutting board if gluten-containing foods were previously prepared on the surface.
Combine wet ingredients
- In a medium mixing bowl, whisk the room-temperature eggs with the granulated sugar and about 1/2 teaspoon salt (adjust to taste). The sugar will help with browning and flavor balance.
- If you’re adding optional dairy-based dipping sauce or herbs, have them ready on the side now (but do not add to the frying oil).
Incorporate onions and optional add-ins
- Stir the chopped (or grated and pressed) onion into the egg-sugar mixture.
- Add any optional mild heat (minced jalapeño), herbs, or chives now. Mix until evenly distributed.
Combine dry ingredients
- In a separate bowl, whisk together the gluten-free cornmeal and gluten-free all-purpose flour blend and a pinch of black pepper. If your GF blend doesn’t contain xanthan gum, add about 1/8 teaspoon now to help bind.
- Taste and adjust seasoning: because this is a fried batter, it should be slightly seasoned; you can correct salt after mixing to ensure each hushpuppy is flavorful.
Combine wet and dry ingredients
- Pour the dry mix into the wet ingredients and fold gently with a spatula until combined. The batter should be thick but scoopable — similar to a drop-batter for muffins. If it’s too thick, add a tablespoon of milk (dairy or plant-based) at a time until the right consistency; if it’s too thin, add a bit more GF flour or cornmeal.
- Check seasoning: take a tiny spoonful, cool it slightly, and taste for salt and pepper. Adjust as needed. (This simple taste check helps fix under-seasoning before frying — safer than trying to salvage finished hushpuppies.)
Heat oil for deep frying
- In a heavy pot or deep fryer, add enough vegetable or canola oil to reach 2 inches deep. Heat to 350°F (175°C) — use a thermometer for accuracy. If the oil is too cool, the hushpuppies will absorb oil; if too hot, they’ll brown too quickly and remain raw inside.
- Cross-contamination note: Use fresh oil that hasn’t been used for gluten-containing foods. If you’re frying in a shared kitchen, confirm the oil’s history or use a dedicated pot and oil.
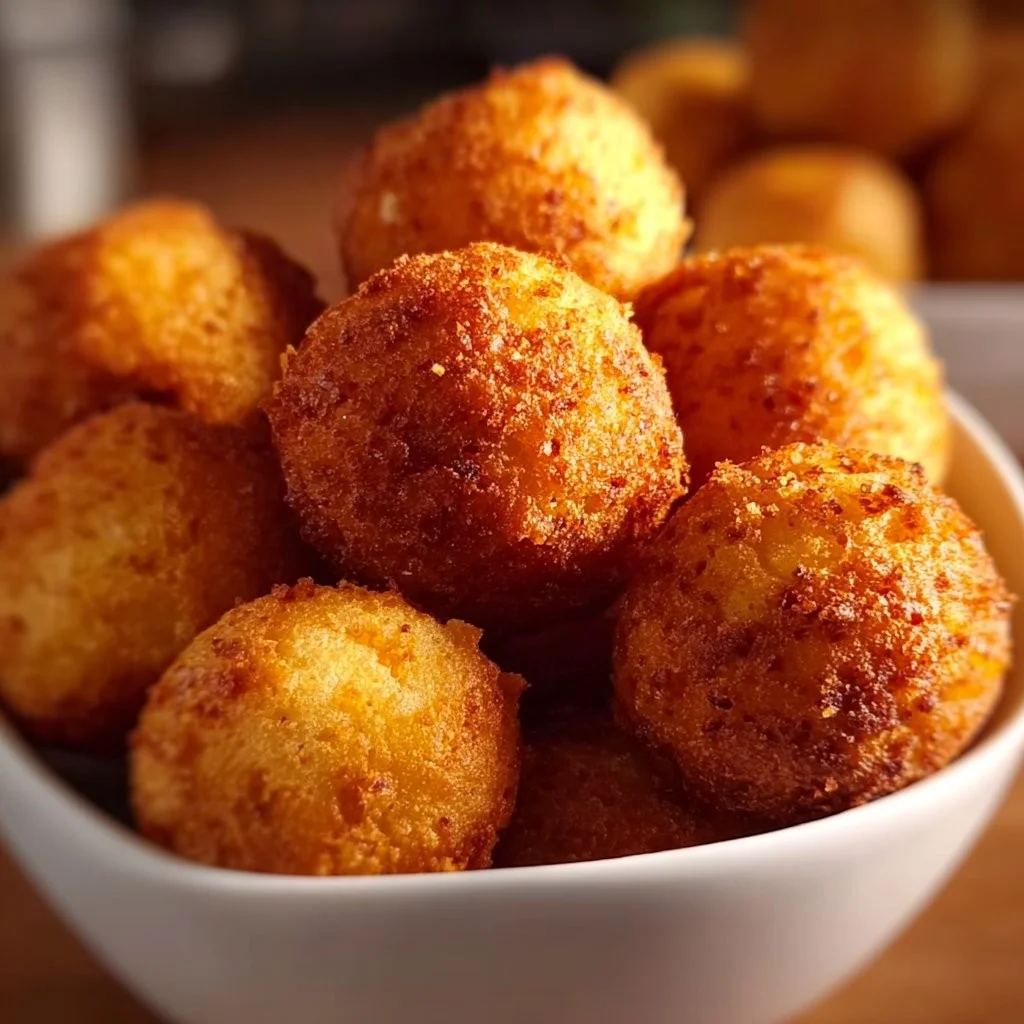
Fry the hushpuppies
- Once the oil reaches temperature, use a small scoop or two spoons to drop rounded tablespoons of batter into the hot oil. Do not overcrowd the pot — fry in small batches so the temperature remains steady.
- Fry for about 2–3 minutes per side, turning gently if needed, until golden brown and crisp. The interior should be set and not gummy. Adjust timing slightly based on hushpuppy size and oil temperature.
- Use a slotted spoon to remove hushpuppies and transfer them to a wire rack or paper towels to drain.
Drain excess oil and keep warm
- Let hushpuppies rest on a rack for a few minutes to release steam; this helps them stay crisp rather than soggy.
- If you’re making multiple batches, keep finished hushpuppies in a 200°F (95°C) oven on a baking sheet to keep warm and crisp while you finish frying the rest.
Serve and enjoy
- Serve warm with your chosen dipping sauce (see serving suggestions). These are best the day they’re fried, though you can reheat in a hot oven for a few minutes to revive crispness.
- Final safety reminder: Cool and dispose of oil safely or strain through a fine mesh and store in a sealed container if you plan to reuse it for gluten-free-only frying.
Common Mistakes to Avoid
Keeping hushpuppies gluten-free is mostly about careful ingredient choices and avoiding cross-contamination. I want you to feel confident making these at home without compromising flavor or safety.
Mistake 1: Using non-certified cornmeal or flour
Even if cornmeal and rice flour are naturally gluten-free, manufacturing and packaging can introduce gluten. Always buy products labeled “certified gluten-free” when you’re cooking for celiac disease or severe sensitivity. I’ve seen folks assume “corn” is automatically safe — it isn’t always.
Mistake 2: Batter texture too wet or too dry
Gluten-free flours absorb liquids differently. If your batter is too wet, hushpuppies will spread and be heavy; if too dry, they’ll be dense and crumbly. Aim for a scoopable drop batter and adjust with a tablespoon of milk or a pinch more flour as needed. I typically check consistency by scooping a spoonful — it should hold shape and have a bit of bounce.
Mistake 3: Frying at incorrect temperature
Too low and the hushpuppies soak up oil; too high and the outside burns while the inside stays raw. Use a thermometer and keep the oil around 350°F (175°C). Fry in small batches so the oil temperature stays steady. If you’re working without a thermometer, drop a small piece of batter in: it should sizzle and rise immediately without blackening too fast.
Serving Suggestions for Perfect Gluten-Free Hushpuppies Recipe
Hushpuppies can be a fun, crunchy addition to a balanced gluten-free meal. I’ll suggest easy, realistic pairings that work for weeknights or casual entertaining.
Hushpuppies pair well with a protein and a fresh side. Try them alongside grilled or baked fish, roasted chicken, or a plant-based protein. Add a simple green salad or steamed vegetables for balance — this creates a satisfying meal without extra fuss.
Classic Seafood Pairing
Serve warm hushpuppies with baked or pan-seared white fish (seasoned simply with lemon, salt, and pepper) and a crisp cole slaw or green salad. The mild sweetness of the hushpuppies complements seafood beautifully.
Family-Style Dinner
Place hushpuppies on a platter with a roasted or grilled protein, roasted seasonal vegetables, and a bowl of a cool yogurt-herb dip or remoulade. This is easy to assemble and appeals to adults and kids alike.
Appetizer Tray
Offer hushpuppies as part of a starter spread with a few dipping sauces — a simple lemon-garlic aioli (use GF mayo), a tangy mustard sauce, and a fresh salsa verde. Keep sauces labeled and in separate bowls to avoid cross-contamination if serving guests with varied diets.
Conclusion
I hope this Perfect Gluten-Free Hushpuppies Recipe gives you a reliable, tasty option for gluten-free cooking that’s both approachable and safe when you select certified ingredients and follow cross-contamination steps. I encourage you to adapt seasonings and add-ins to suit your family’s tastes while keeping the core steps the same for consistent results. For another gluten-free take on hushpuppies and a tested recipe for comparison, I sometimes reference a well-tested version like Gluten-Free Hush Puppies – Gluten-Free Baking when I’m exploring tweaks or serving ideas.
FAQs About Perfect Gluten-Free Hushpuppies Recipe
Yes — when you use certified gluten-free cornmeal and a certified gluten-free all-purpose flour blend and ensure your oil and utensils haven’t been used for gluten-containing foods, this recipe is suitable for people with celiac disease. I always recommend checking labels and keeping a dedicated gluten-free prep area to minimize risk.
You can make them ahead and reheat in a 350°F (175°C) oven for 5–8 minutes to regain crispness. They’re best eaten the same day, but properly stored in an airtight container in the fridge, they’ll keep for 2–3 days. Reheat in the oven rather than the microwave to avoid sogginess.
If you can’t find certified cornmeal, I suggest a blend of masa harina and rice flour (for example, 3/4 cup masa harina + 1/4 cup rice flour by volume) as a substitute, but use certified gluten-free versions. Keep in mind texture may shift slightly; adjust with a tablespoon of liquid if needed.
Cool leftovers to room temperature, then place in an airtight container in the refrigerator for up to 2–3 days. To re-crisp, warm them in a preheated oven on a wire rack for a few minutes. For safe storage, don’t leave fried foods at room temperature for more than two hours.
Yes, you can try a flax “egg” substitute (2 tbsp ground flaxseed + 6 tbsp warm water, set 10 minutes) for each 2 eggs, but frying behavior and texture will differ — hushpuppies may be a bit denser and less airy. If you need an egg-free version, test a small batch first and adjust frying time as needed.
Perfect Gluten-Free Hushpuppies
Ingredients
Method
- Crack 2 large eggs into a bowl and whisk until smooth; bring to room temperature.
- Finely chop or grate 1 medium onion, squeezing out excess liquid if grated.
- Measure and prepare all the dry ingredients separately.
- In a mixing bowl, whisk eggs, granulated sugar, and 1/2 tsp salt.
- Stir onion into the egg mixture; add any optional ingredients.
- Whisk together cornmeal, all-purpose flour blend, and a pinch of black pepper.
- Fold dry ingredients into wet mixture until combined; adjust consistency as needed.
- Heat oil in a pot to 350°F (175°C). Drop batter into hot oil, frying in batches until golden brown.
- Remove hushpuppies with a slotted spoon and drain on wire racks or towels.
- Serve warm with dipping sauces.